Footwork Techniques
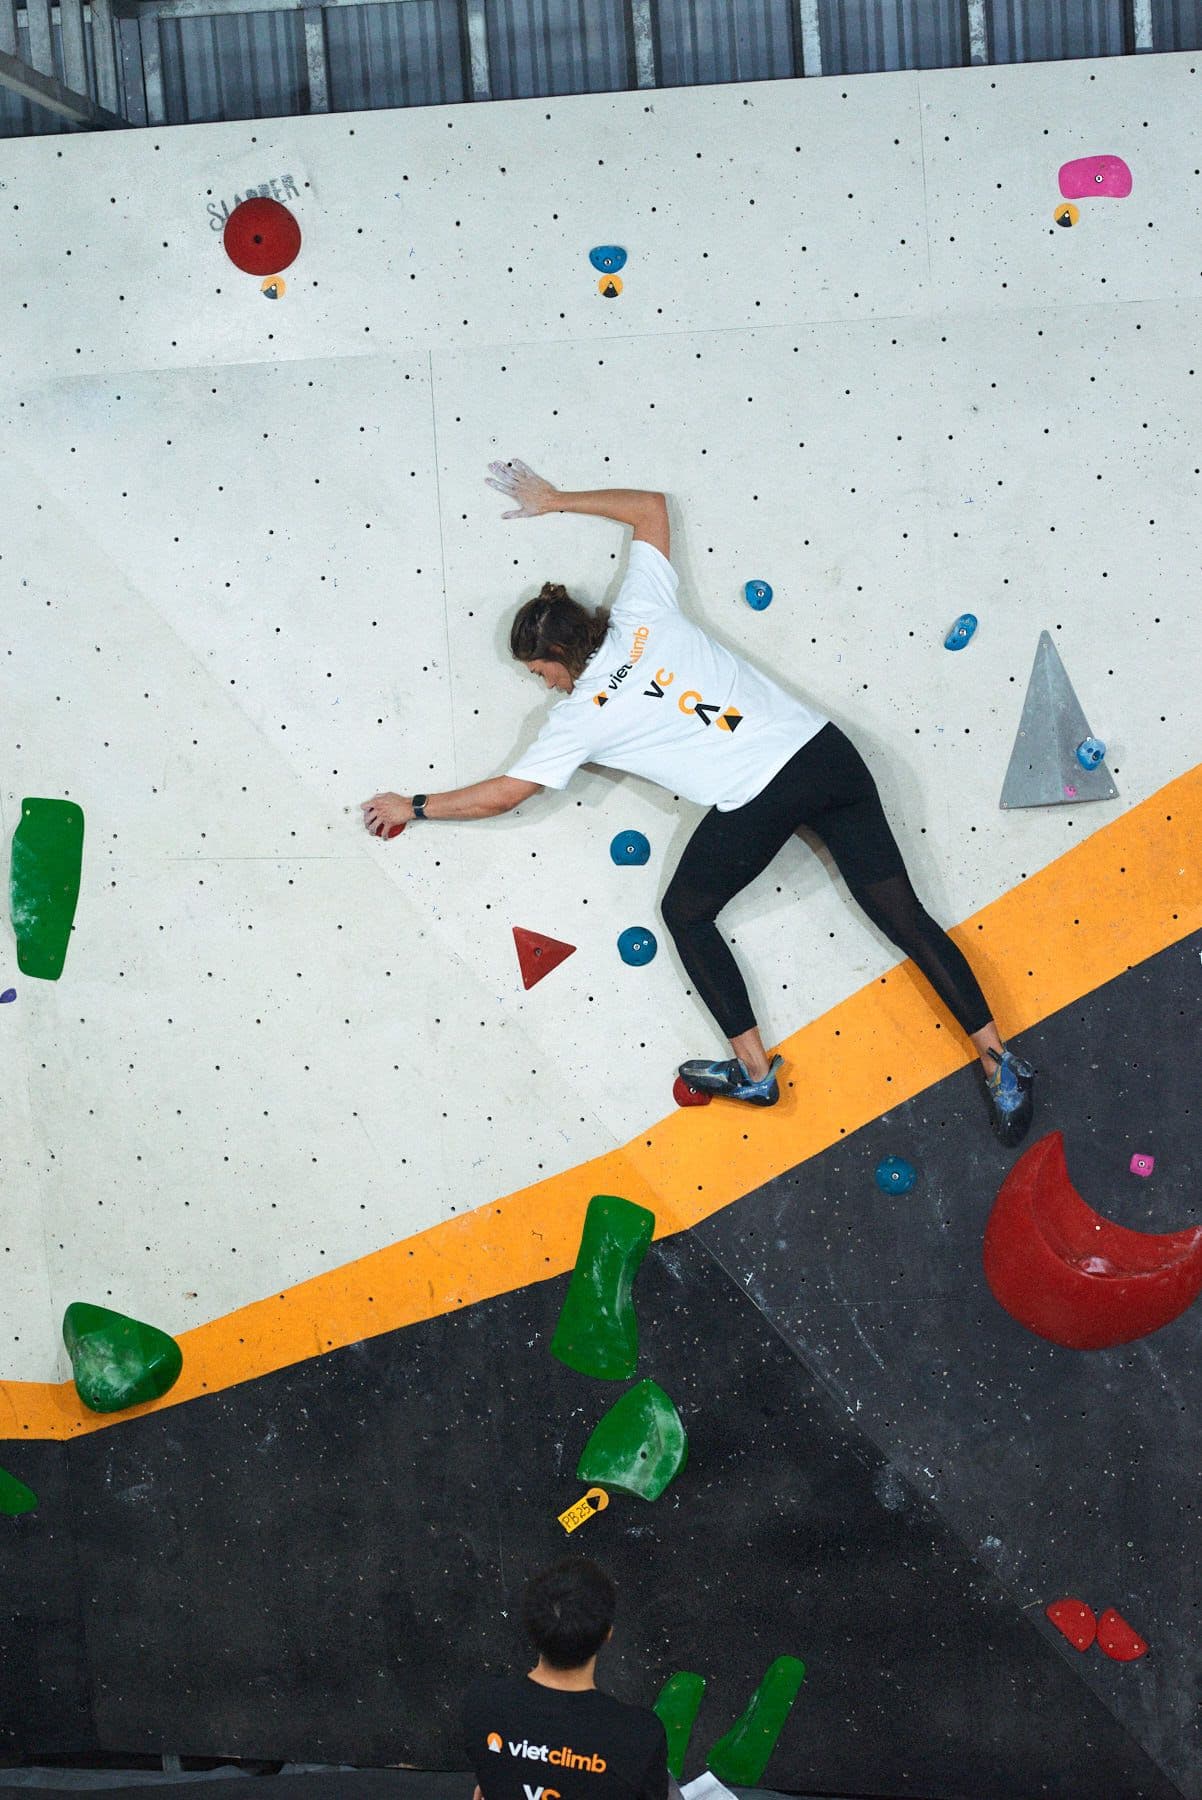
A climber with good footwork saves a great deal of arm strength, stays in better balance and seems to just float up climbs. To be a good climber one merely just needs to be strong. To be a great climber, however, requires that strong climber to have great footwork.
Anatomy of A Climbing Shoe
1. Choosing your footwear
For the type of climbing where most of one’s body weight is on the feet-like low angle slabs, choose shoes with laces and shoes that are stiff. Stiff shoes support your weight better so your feet do not tire out. Laces help keep your feet from sliding around the inside of your shoes when you press down hard and when the weather is warm and humid, like here in Vietnam in the summers. Velcro and slippers are usually softer, allowing one to pull with one’s feet on steeper climbing terrain like another set of hands. More importantly, for some people, these closures make the shoes convenient to take on and off frequently. And because one cannot synch these down as tightly as laced shoes, many will wear these tighter.
At first, until your feet have gained some strength, wear a shoe that is snug but not uncomfortable. This way climbing is more enjoyable at this crucial beginning stage.
2. Upper and Rands
Toes and Heels
3. Sole and Edges
How To Use Your Feet
1. CLIMBING WITH YOUR EYES
If you cannot see it, your feet, you cannot use it. Be precise and treat your shoes as highly technical surgical instruments.
2. EDGING
Whether it be an inside or outside edge, one’s ankle bone will be next to the wall with the heal elevated, driving all of one’s weight down onto the edge. This is used on a square cut protrusion of the rock.
a. Inside Edge
Most easily visible, offers great articulation/movement and extension. Some think this is the stronger side but in reality, the physics of it, long lever arm, actually means it’s weaker. (The muscle that controls the big toe however is the strongest in the foot.)
b. Outside Edge
Hard to see but offers the most weight support because there are many more bones on this side of the foot than the inside.
3. SMEARING
Using the sole of the forefoot flat onto the hold, the heel will be below the sole and straight out from the wall. This allows for maximum climbing shoe rubber contact onto to the rock surface. The lever of effect of plantar flexion will also create pressure to help the feet stick. This is used on flat rock, round protrusions or rounded indentations of the rock.
4. SMEDGING
This is a combination of the two techniques where the middle of sole is placed on top of the bluntest part of the hold, the heel is halfway elevated and the ankle bone is something like halfway between the wall and straight out. These holds are neither sharp nor rounded but rather in between. Know that smedging allows for higher extension, but less surface contact, than smearing.
5. TOEING
This part of the climbing shoe offers the narrowest profile and most height extension. And one can see it most easily. Mostly used in pockets or to get as much height extension as possible. And because of the long lever effect of the narrow toe, more likely than not the heel needs to be above the toe to drive as much weight as possible down onto the point of contact.
6. BALANCING ON YOUR FEET
a. Normal Force of Gravity
In Physics this is referred to as the force of gravity, the force that pulls straight down.
b. Center of Gravity
This is a place on the human body that is slightly higher than one’s crotch. In profile, try to keep this point of one’s body directly over the feet.
c. Weight shifting
When you watch a good climber you may notice that his or her weight shifts from one side to the other as he or she ascends. At first shift your weight slowly. In Tai Chi practitioners use a 100%-0% shift and slowly go to 90%-10% to 80%-20%......The slower weight transfer will allow one to slowly gauge if the foot is slipping or not, giving the climber a chance to recover/replace the foot onto the foothold if necessary. PSS-Place your foot onto the hold with your eyes. Shift your weight onto the hold slowly. Stand firm and tall onto the hold.
d. Small steps
Taking small steps allow for a much smoother weight transfer because the balance point of one foot onto the other foot is closer. Also, because the knees are not as flexed as in a high step one will save strength in one’s quadriceps in pressing up with that leg or the strength of the arms that might be pulling the weight onto the foot.
e. Foot matching / switching
It is very common to have to replace one’s foot with the other in order to make the next move. The best way to do this is to place the un-weighted foot on top of the weighted one, trying to match the edges. Then on a count of three slip the bottom foot out and let the top drop onto the hold. Replace the new foot to get the best purchase as necessary. This may the only method to match feet on a small hold. If the foot hold is large then one can simple do a “piano” style of matching wherein one continually changes edge profiles of the weighted foot to make room for the other foot. Be sure to plan ahead here so the last foot placement sets one up for the next moves.
f. Frog stance
This is a popular move to save one’s quad strength. As one foot sits on a foothold with all of one’s weight, bring the foot up to about the same height, equalize your weight between the two and stand towards the next hand hold.
g. Stemming
With footholds generally facing each other, both feet are pressing with opposing pressure. DEMONSTRATE ON FLAT GROUND FIRST THEN ON THE WALL.
h. Plan ahead
Like chess, climbing involves thinking about the next move almost before you perform the current move. Look to the next foothold as you stand or weight shift. Sometimes you will see that you do not have to stand all the way up but only half –way up.
CONCLUSION
Good footwork is the foundation of good climbing technique. Applied with discipline, meaning be precise and methodical at every move, a climber will achieve rock climbing stardom.